Perception - Object Tracking
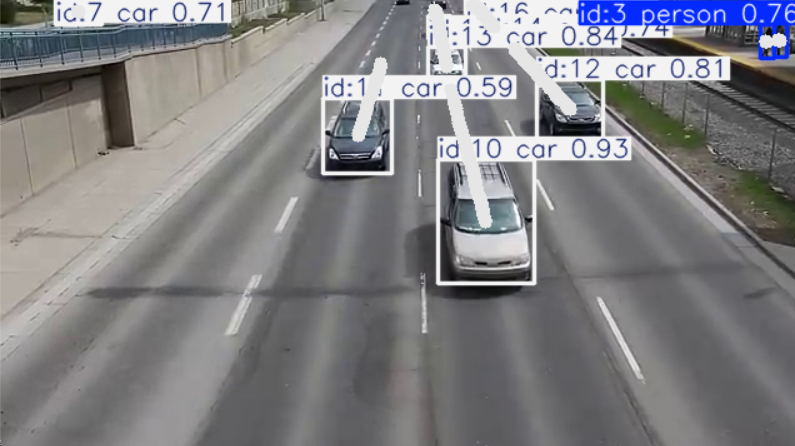
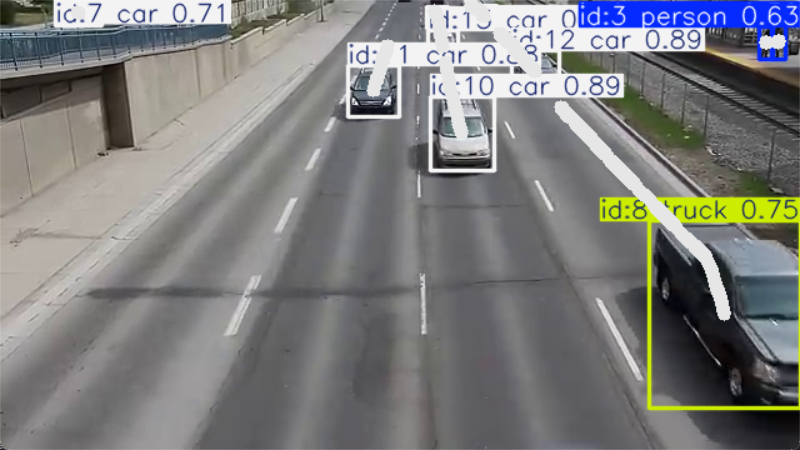
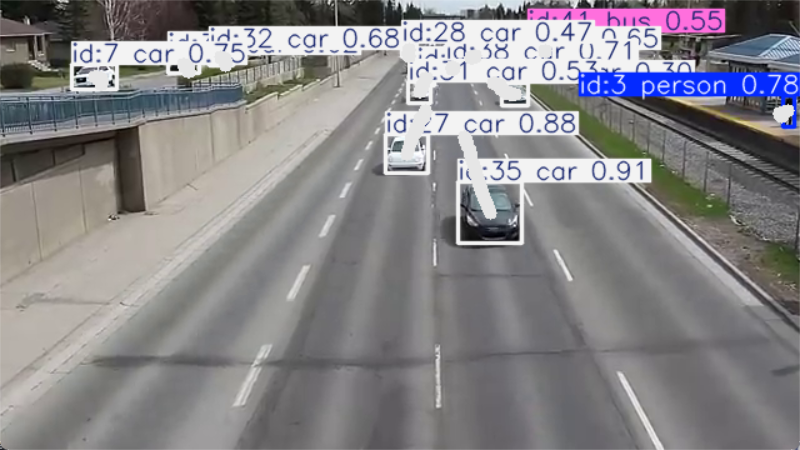
This page provides a hands-on example for Object Tracking in Perception. It uses the ByteTrack model for 2D tracking of vehicles and pedestrians.
Given belowModel OverviewandCode walkthrough。
Model Overview
1. Model overview:
Bytetrack is an algorithm for multi-object tracking (MOT, Multi Object Tracking) tasks, in the paper《ByteTrack: Multi-Object Tracking by Associating Every Detection Box》It mainly achieves efficient multi-target tracking by processing the target frames generated by the detector. It solves the problems of the traditional MOT algorithm when dealing with low-confidence targets and improves tracking accuracy. The core idea of Bytetrack is to track all detection boxes, including high-confidence and low-confidence targets, which avoids missing low-confidence targets, thus improving the overall tracking performance.
In multi-object tracking, the input is traffic-flow video and the output is an ID label for each detected object.
2. Model Architecture:
- Object detection and assignment: input video frames first pass through an object detector to obtain detection boxes, which can be sorted by confidence.
- Initial association: use a Kalman Filter and the Hungarian Algorithm for initial tracking matches. High-confidence boxes are first matched with historical tracks and assigned to existing tracked objects.
- Low-confidence objects: ByteTrack does not simply discard low-confidence boxes. For unmatched tracks, it further checks and attempts to match low-confidence boxes, capturing objects previously missed by the detector and making tracking more complete.
- State update: matched objects update their states, while unmatched objects enter a potential-object list. If they remain unmatched in later frames, they are eventually discarded and marked as lost.
3. Implementation:
- Data preprocessing: split a video sequence into an ordered image sequence at a selected frame rate, or read it directly with OpenCV.
- Model selection: choose an appropriate object-tracking model and provide its configuration file.
- Visualization: Object Tracking inference is fast enough for real-time display and can also be processed offline to generate a video.
Code walkthrough
0. Preparation:
- System requirements: Windows/Linux with Anaconda or Miniconda installed.
- An NVIDIA discrete GPU with CUDA, cuDNN, and PyTorch is required. On Windows, install Visual Studio before CUDA.
- The example uses video frames from Traffic Footage downloaded from YouTube. The demo folder is already included, so no additional download is required.
1. Environment Setup:
2. Data Preprocessing:
- video_path: storage path of traffic flow video files
3. Model Selection:
- model_name: Use the name of the model. If it cannot be searched locally, it will be automatically downloaded online and may need to be executed twice.
4. Result Visualization:
- window_name: visualization window name
- thickness: line thickness for trajectory visualization
Complete Demo